Oil hose replacement
Suzuki DR350 motorcycles, 1990 - 1999.
Created:
Updated:
Buy O-rings for your DR350. Good quality + low prices.
After 17 years, I figured it was time to replace the oil hoses on my 1993 DR350. They had not failed, but I figured it was better to be safe than sorry.
I started by doing a bit of research to determine the pressures I would be dealing with. The engine is designed to work with 20 PSI of oil pressure. But, I do not believe the oil hoses are subjected to even this low amount of pressure. Why? Well, after examining the engine lubrication system chart in the workshop manual (chapter 4, page 8), I learned that one of the oil hoses is under suction
as it feeds the oil pump while the other two oil hoses are under very low pressure as they return oil up into the top of the frame (there should be essentially zero restriction getting the oil back up into the tank). If you examine the oil flow diagram, you'll see what I'm talking about.
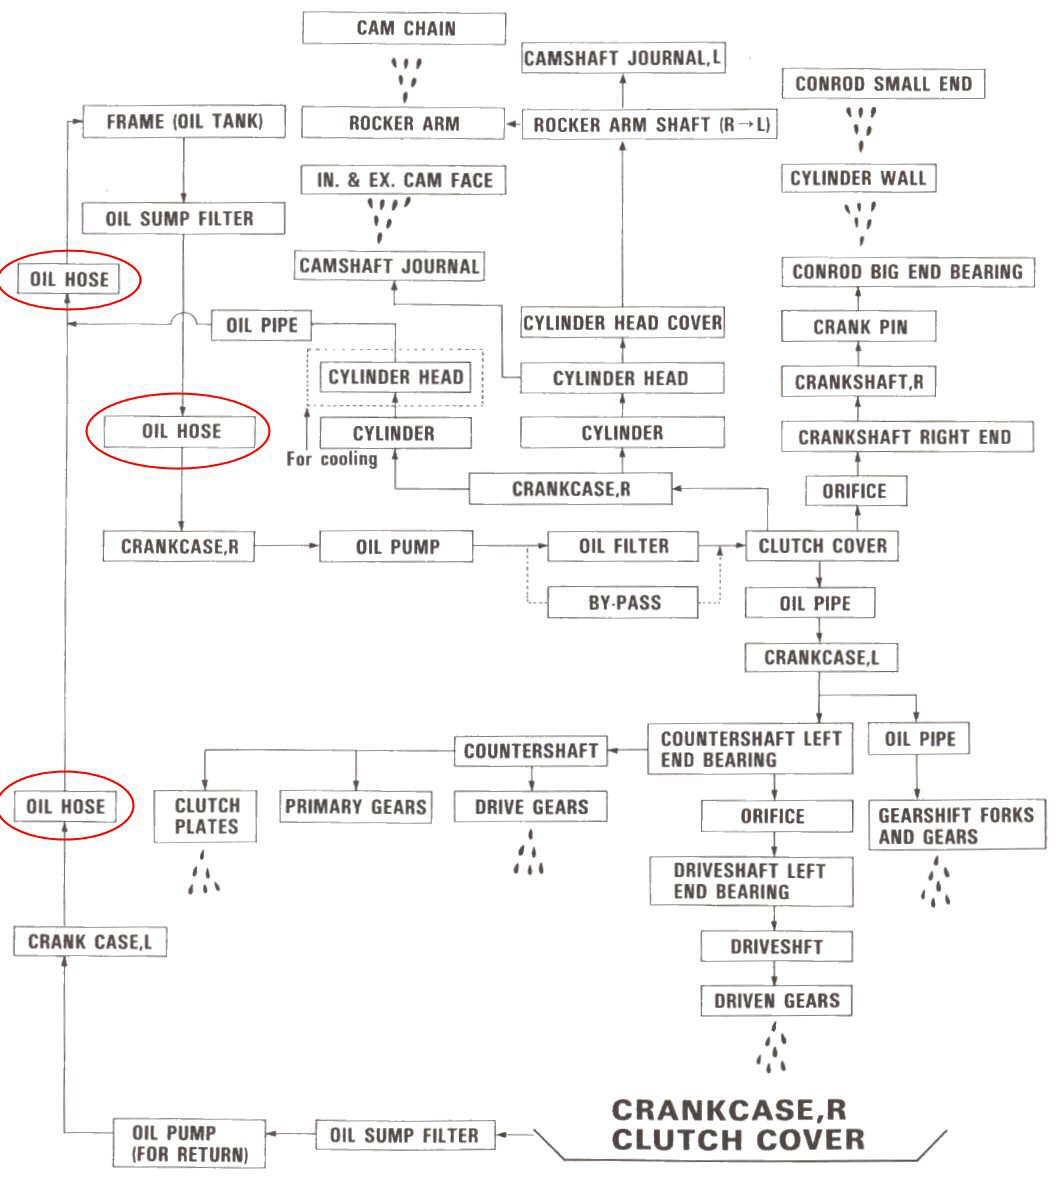
Photo courtesy of Gregory Bender.
Alright, we are not dealing with high pressure. Still, oil temperature can get quite hot. I figured 212° fahrenheit is about as hot as I'd ever want the oil to get. Members of the Maximum Suzuki forum encouraged me to get something that could tolerate temperatures of at least 300° fahrenheit. I figured that would be a good safety margin, too.
After purchasing a couple of stainless steel braided hoses that would not fit, I wound up finding a good hose at my local NAPA. The hose is made by Gates and is part number H-1946, is 1⁄2 inch inside diameter, and is transmission oil cooler hose. It is good for a constant 300° fahrenheit and 400 PSI working pressure. You can search for it on the NAPA website. Get three feet and you'll have enough for a mistake or two.
Christopher Lowden contacted me with an alternative to the Gates hose: Aeroquip part number FC332-08. Thanks, Christopher.
Installation was the easy part. After draining the oil, I removed the complete oil hose assembly, taking note of the routing for subsequent installation. I then cut off each original fitting using a hacksaw with the hose clamped in my bench vice. I measured the original length and then cut my new hose to the same length. I fit the hoses to the steel lines, but I did not clamp the hoses on at this point...choosing instead to wait until they were positioned properly on the engine.
I replaced the two O-rings that seal the steel oil lines to the engine case (under the flanges that are secured to the engine case with two allen head bolts).
I also should have had replacement crush washers on hand for the two banjo bolts. But the originals were in fine shape and I reused them.
During installation, I found that I could use stronger wide band worm drive hose clamps on most connections (I reused old worm drive hose clamps I had lying around the garage). On the two lowest connections, I found that the larger worm drive hose clamps would interfere with the engine case and/or skid plate. So, I used some good quality narrow band worm drive hose clamps in these locations. I mention good quality
because a lot of the worm drive hose clamps sold in auto parts stores (or Walmart) are complete junk and not strong enough for even the lightest task. Just make sure you use some good ones.
That's really it. Don't forget to put oil back in and to kick the engine over a bunch of times before starting it to get the oil circulating again.
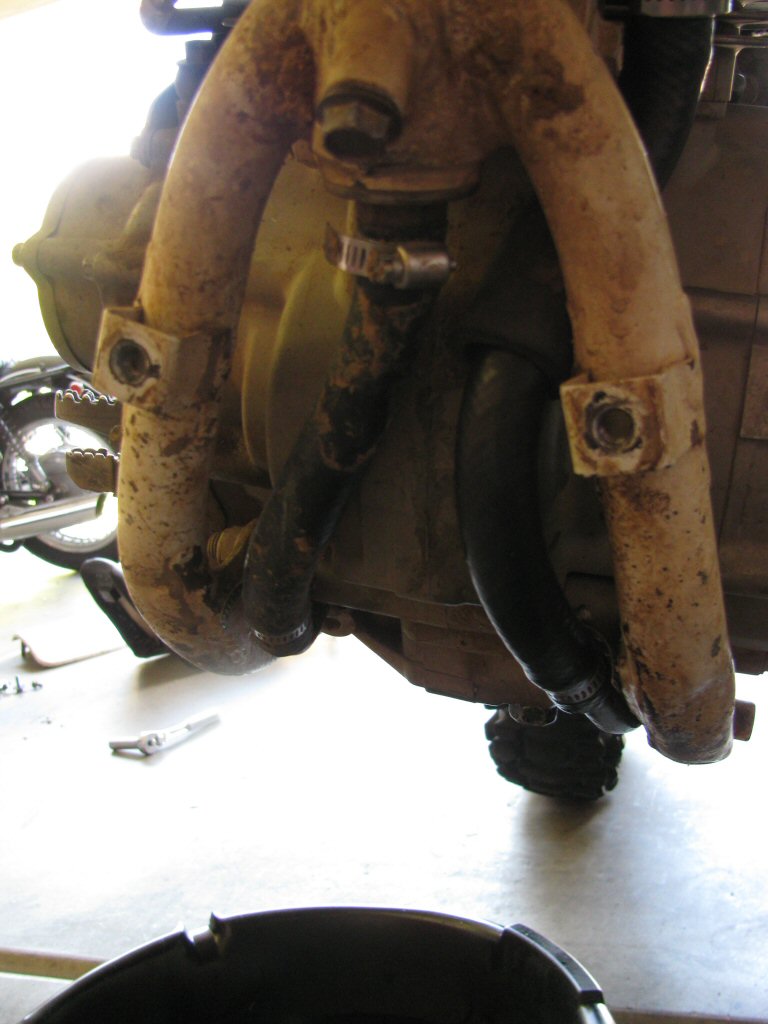
Photo courtesy of Gregory Bender.
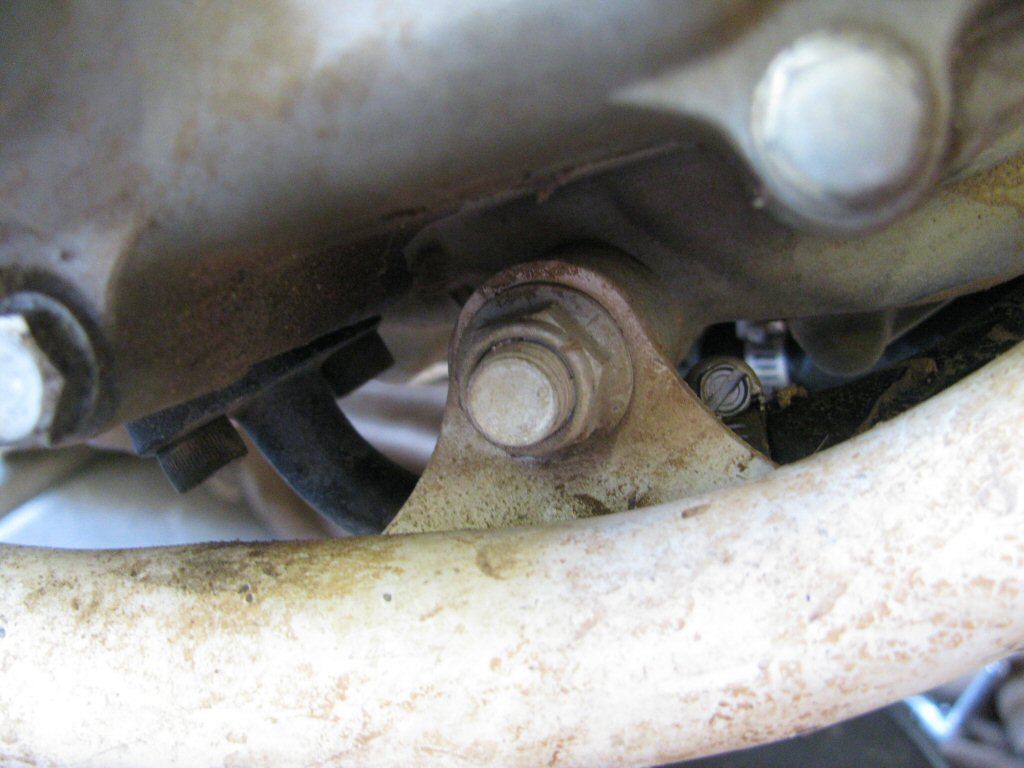
Photo courtesy of Gregory Bender.
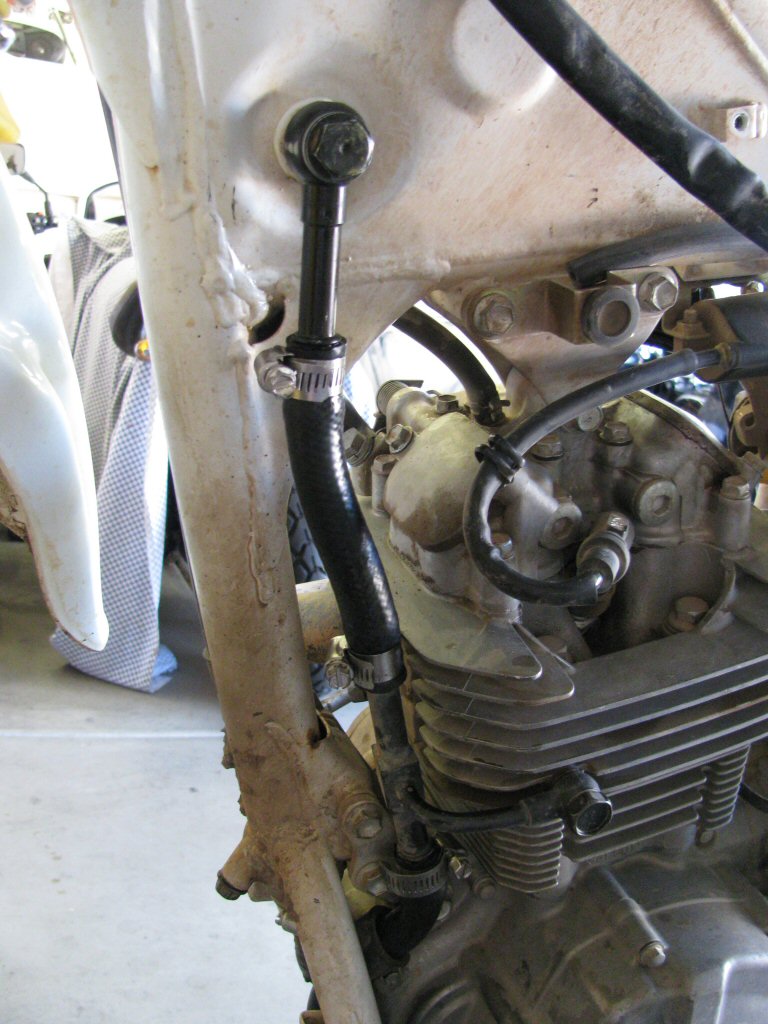
Photo courtesy of Gregory Bender.
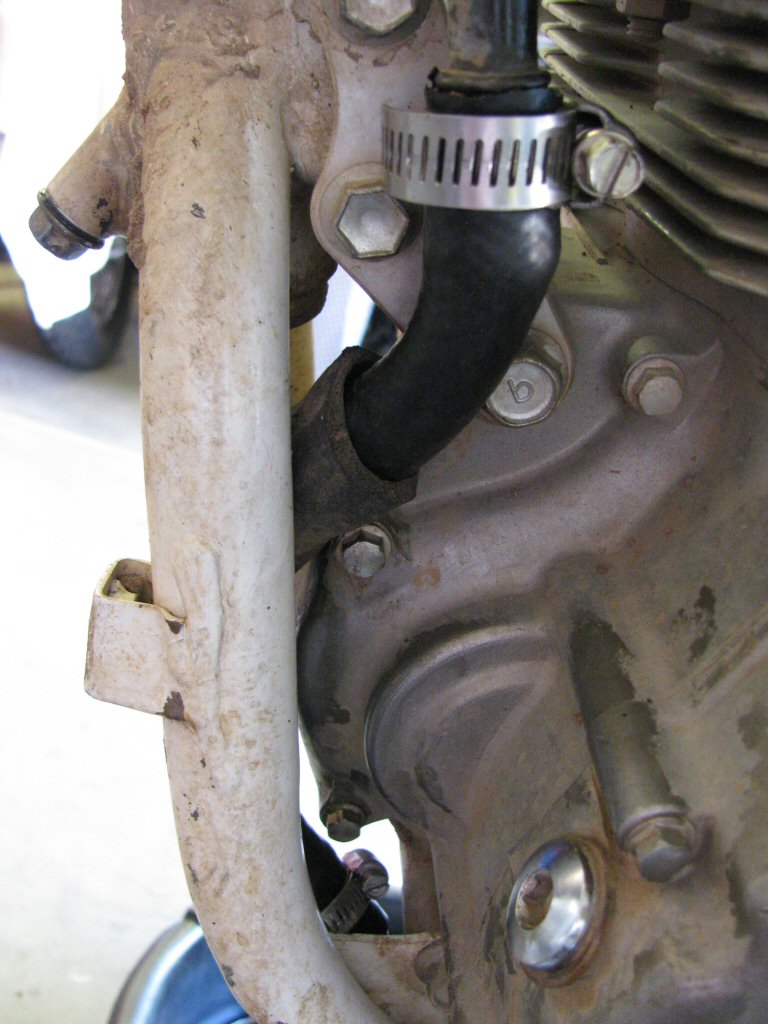
Photo courtesy of Gregory Bender.
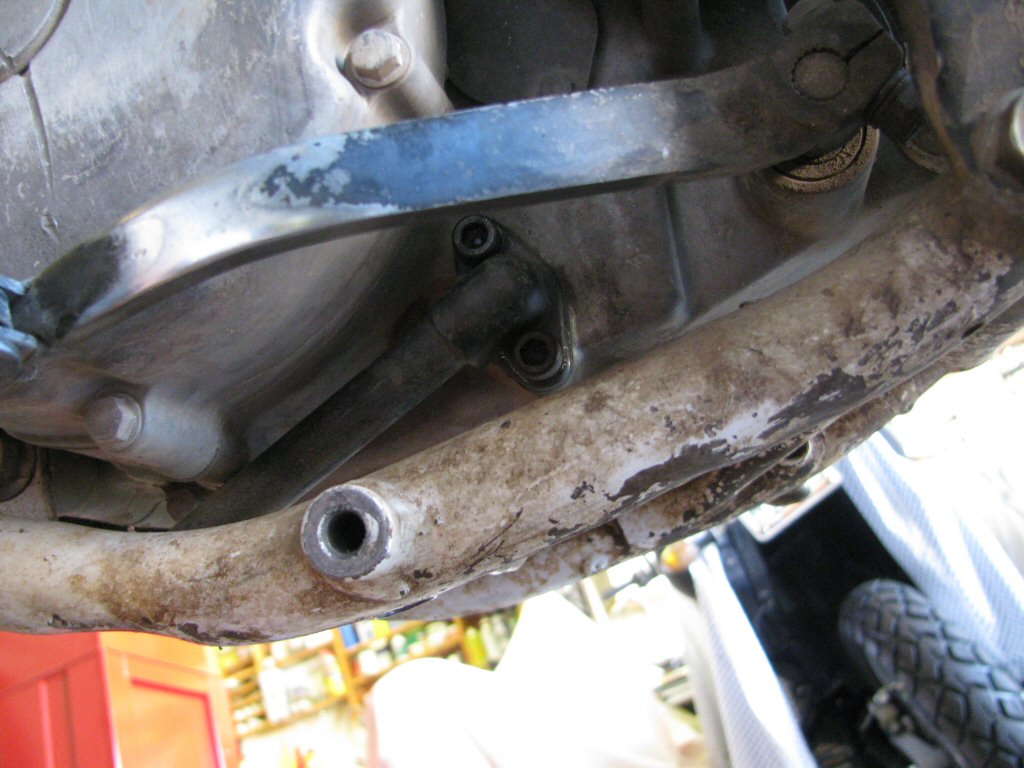
Photo courtesy of Gregory Bender.