Gregory Bender

View all Wiring harnesses for the Moto Guzzi V7 Sport for sale

Relay solution for the horns, coils, headlight high beam, and headlight low beam

Part number: RELAY-HARNESS-TONTI

Price: $113.00
How to order

Testimonials and reviews

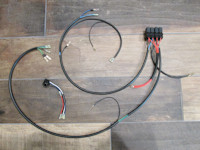
The complete relay solution you will receive.

Direct link to image

Relay solution for the horns, coils, headlight high beam, and headlight low beam

No more excuses! Relays greatly improve the performance of the horns, coils, and headlight. Your horns will be louder, your coils will get all the amperage they require, and your headlights will burn brighter when you use relays. Relays also dramatically extend the life of your handlebar switches.

This relay kit is a well thought-out and solid solution that is in line with what I believe Lino Tonti might have designed. A few points I'll mention:

  • Complete solution - includes all needed components.
  • Works with your original wiring harness.
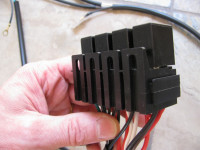
  • The bank of four relay sockets is intended to be mounted between the battery and the rear plastic inner fender. This affords ease of installation as well as later access. This keeps the headlight bucket largely uncluttered and doesn't hide anything under the gas tank were it is difficult to access.
  • Wiring is color coded to original specifications.
  • Relay sockets are used to make installation easy and trouble free.
  • Each relay is wired independently from each other: horns, coils, headlight high beam, and headlight low beam. This slight redundancy permits one relay to fail without affecting the functionality of any other relay.
  • Includes all four needed relays.
  • Relays are of a standard size and easily replaced at any time (they simply plug into the socket).
  • Simple installation - See installation instructions.
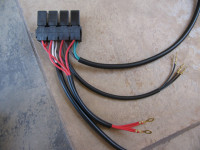
The bank of 4 relays.

Direct link to image

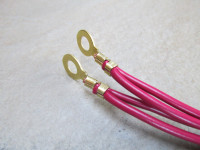
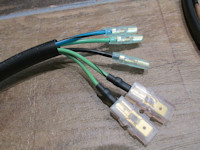
These wires connect to battery positive terminal.

Direct link to image

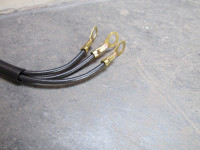
These wires are grounded to the frame where the rear fender is secured to the frame.

Direct link to image

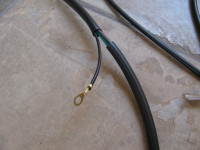
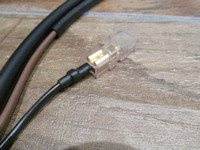
This wire is connected to the battery negative terminal.

Direct link to image

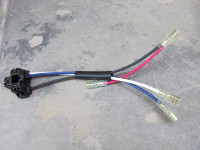
Kit includes a heavy-duty duplicate of the original headlight plug.

Direct link to image

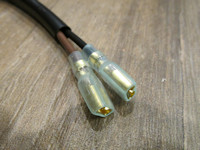
Female spade terminals plug into the rear of the headlight bucket.

Direct link to image

This wire connects to the existing horn ground wire.

Direct link to image

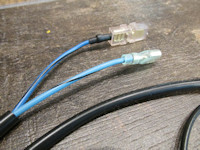
These wires connect to the coil.

Direct link to image

These wires connect to the horn.

Direct link to image

The relay brackets have mounting holes which you can use to mount to your plastic inner fender.

Direct link to image

Installation instructions